One of the most expensive jobs in the repair shop is replacing your saddles sheepskin lining underneath the skirts. This is labor intensive because we have to completely disassemble the saddle and remove the skirts from the tree. This job can easily run upwards of $400 depending on whether you go with the synthetic wool or the genuine sheepskin. Continue reading
Saddle Pads and Padding
How many different types and brands of saddle pads or blankets have you bought in the last five years?
These days we have an overwhelming selection of different styles, materials, and promises amongst saddle pads and blankets that it is hard to make a choice. The most asked question in our shop from customers is what kind of saddle pad they should be using. This usually gets into a lengthy conversation on my saddle padding philosophy and so we will discuss some of the key areas and hopefully this will help to answer some of you questions on the right padding for your horse. Continue reading
What’s New with Us
This year has been amazing, and we want to thank all our customers who have helped to make 2015 so great. The shop has been through many changes over the last few years and the patience of our customers is appreciated more than you will ever know. We have come a long way and more changes are still to come over the next few years. Continue reading
Our New Mailing List!
The response that we are getting from you all when it comes to patterns we have available has been overwhelming and we want to thank you so much for that. I am working on further developing the website to offer more content through videos, blogs, and a lot more tooling and construction patterns. Continue reading
We are all set up!!!
 After boxing up our tools and supplies for the first time in ten years, we have unpacked everything in our new location and are back to work! Last week was our first week working in the new shop and it was great! Continue reading
DG SADDLERY IS ON THE MOVE!!!
It’s official, we are currently in the moving process here at the shop!!! Starting June 22, 2015 we will be moving our facility to a new location. We will still be in Bryan, TX and as soon as we get everything moved and set up we will post information on where we are. Continue reading
Components of a Saddle Tree

Many people know that the frame that a saddle is built on is called a “saddle tree,” but they are usually vague on exactly what a saddle tree consists of. In this post I will discuss the components that come together to make up a saddle tree. Continue reading
My Antiquing Process
So your belt is tooled, dyed, painted and oiled. Now all we have to do is antique it and we are ready to line and stitch it! This is the point at which many craftsmen new to leatherwork will make a few mistakes. I hope that my process helps you to clear up this step. You certainly do not have to antique your belt but I feel like the antique really helps to make the tooling stand out and gives added tone and depth.
The first thing that most people new to leatherwork miss is that the belt must be sealed with a resist before applying the antique. Whether you are using the paste antique or the gel, a barrier is needed so that the overall color and tone of the belt is not changed. The antique is not meant to change the color of the leather, its main purpose is to fill any cuts, impressions, and background texture to highlight and shadow the depth of the tooling. This is why I get the final color of the belt with oil before this step; because once the belt is sealed I can’t get oil into the leather if I want it darker.
The resist I use, or sealer, is Feibings’ Tan-Kote Finish. This finish is not a lacquer finish like NeatLac or WyoSheen, which would lift a lot of any paint work off the belt. If you are finishing a belt that doesn’t have any paint applied then these finishes are great to use. But if the belt has a lot of paint then it’s best to stay away from these finishes and use the Tan-Kote. I apply a liberal amount of Tan-Kote on the belt and work to make sure it’s even and doesn’t have streaks. Now I let this dry really well, at least an hour or so.
Once the finish is dry, the belt is ready for the antique to be applied. I use square pads cut from scrap sheepskin to apply all my finishes… keep a pile of these cut so they are ready for any finishing task. I use the Feibings Antique Paste, and the color I prefer is the Dark Brown. They make a few different colors and they are all fantastic but the dark brown is my go to color for the look I prefer on my products. You can put a dollop of paste on a small square of plywood which allows you to wipe up as little or as much paste as you need with the sheepskin square during application. You want to apply the paste liberally to the belt and work it into the tooling in circular motions to be sure and get it into all the cracks and crevices being sure to not leave any areas missed by the antique. Do this to the entire belt. It will appear to onlookers that you have gone mad and you are ruining a perfectly good belt, but stay calm and keep working it around. Here is where differences vary, some say to leave it for a few minutes before cleaning… I say once you’re sure that it’s worked in well, then take a clean pad and begin wiping the excess paste off the belt. The goal here is to attempt to get as much of the paste off the belt as possible. You want to be somewhat gentle as to not burnish the grain of the leather but you want to clean it well with clean pads until you’re satisfied that you got it all. All that should be left is what is down in bevel lines, background texture, decorative cuts, etc.
My final step is to take a magic towel (This is a towel that is used to wipe hands after oiling, antiquing, cleaning machines, wiping knives after sharpening, spilling coffee, etc.) or any soft hand towel, and gently buff the belt to further polish any residual antique and revive any lost luster from the resist coat of finish. Don’t go crazy here, as previously mentioned, we don’t want to burnish the grain of the leather but we do want it clean of excess antique.
Now turn the belt over and look at the back… see that mess? If you would have lined the belt before the finish steps, then your belt liner would look like that… I don’t care how clean you think you can be, antique takes no prisoners.
This post is an excerpt from out eBooklet “Custom Belt Design and Layout” we posted a couple of weeks ago. We will soon have more of these eBooklets available walking you through the step and processes I use in the shop in creating our custom pieces. If you are interested in purchasing this eBooklet then click the link below and download a PDF copy today!

$5 Download
*I apologize for the lack of photos in this post… fast and furious this morning and Freddy is cracking the whip! I will try and snag some pics during my day and post them in a followup post!
How to Draw a Leather Wallet
Learning how to draw on leather can really help to speed up your work and help you to not waste time drawing something and then having to transfer it later. This is article will show you how to draw right on your projects and feel confident in your drawing skills.
How to Draw On Leather
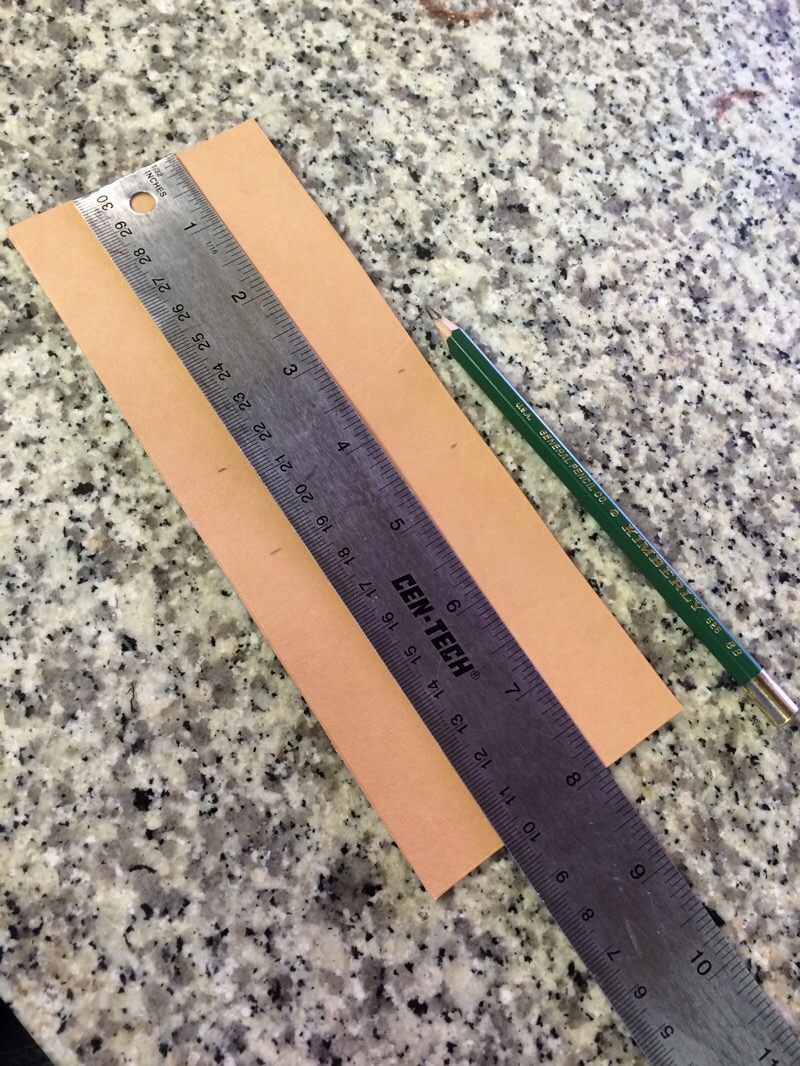
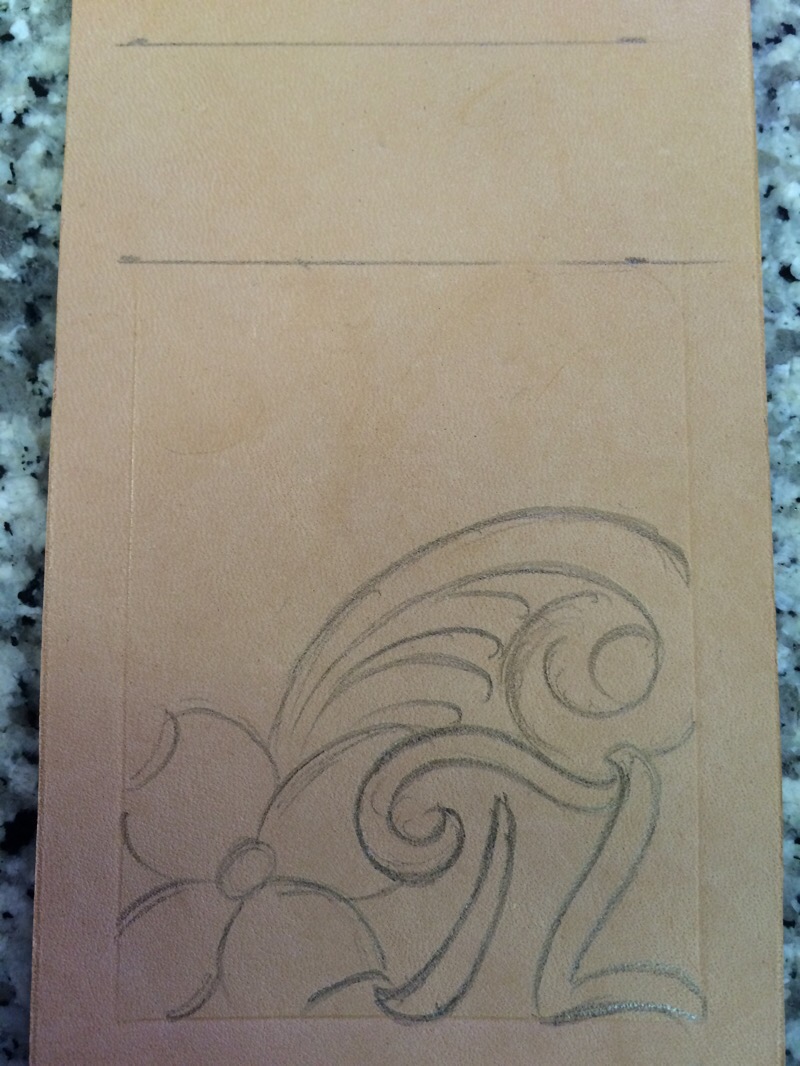
The first thing I do is find my center of the wallet where it will fold. To allow room for the fold I make a mark 1/2″ on each side of center. I do that on each edge of the wallet, so you should have four marks.
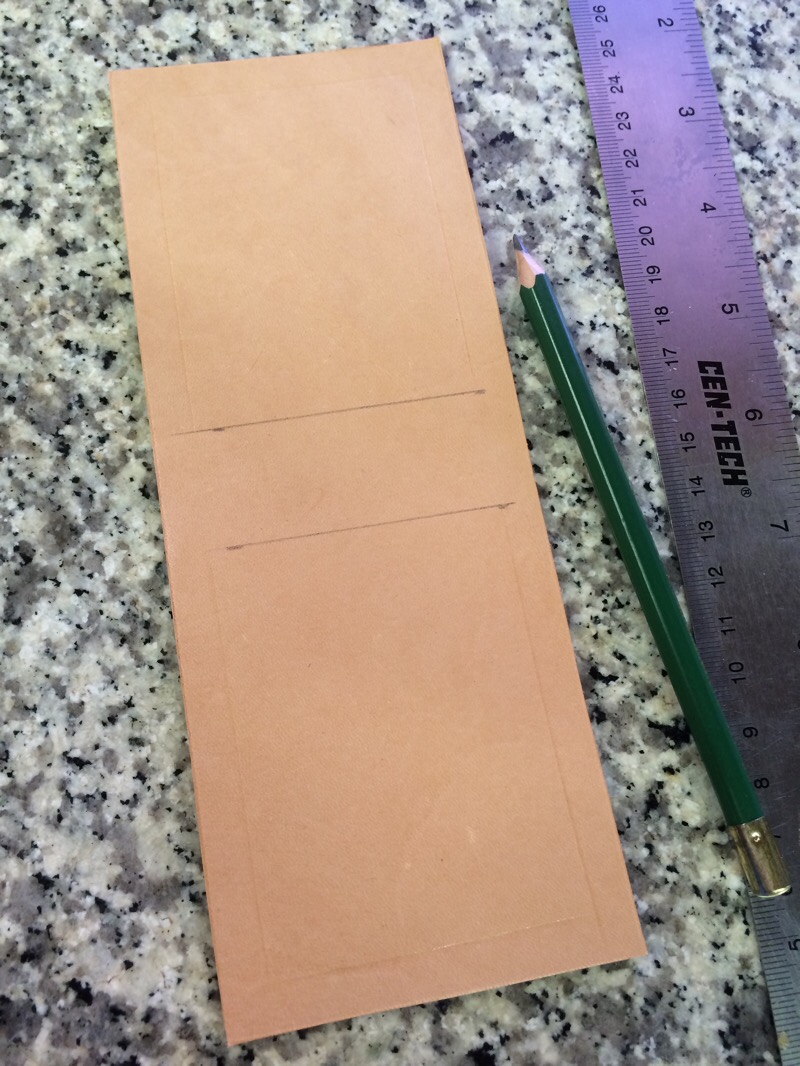
Now I draw a line connecting the marks to define the fold area… I don’t usually tool the fold on my wallets. Next I set calipers to the width that I want my border and scribe my border lines. You should end up with two tooling windows ready for design.
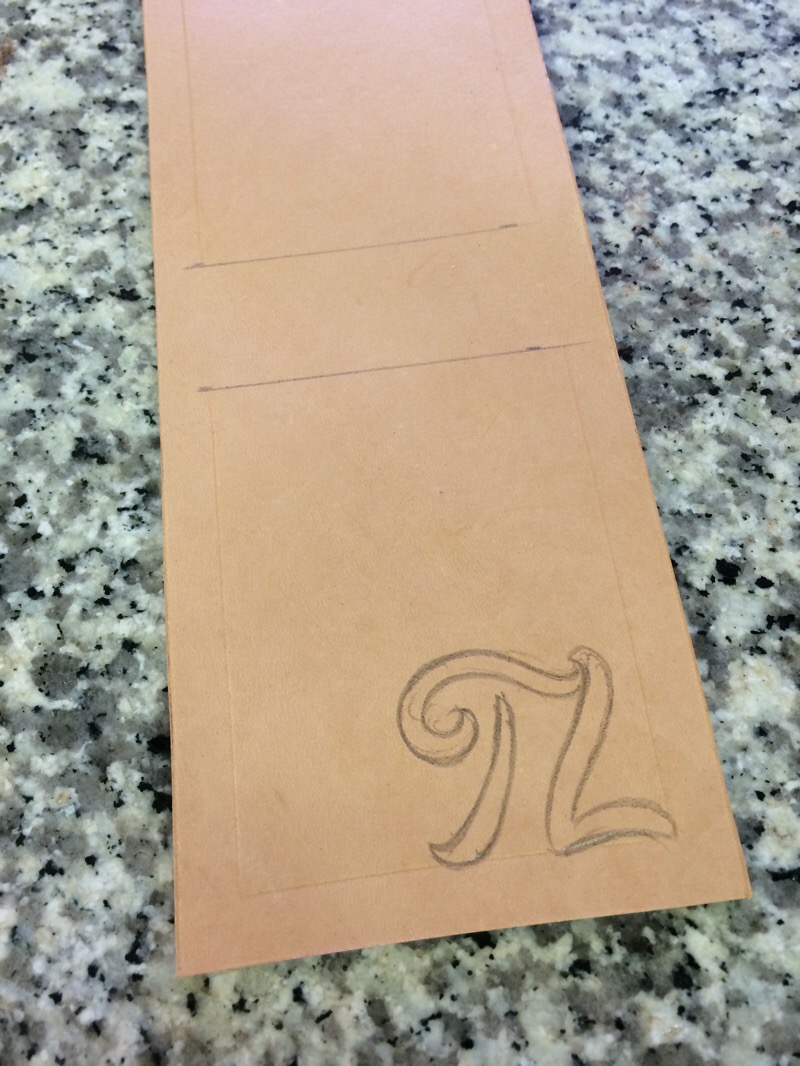 If I’m putting initials on the wallet I draw these in first.
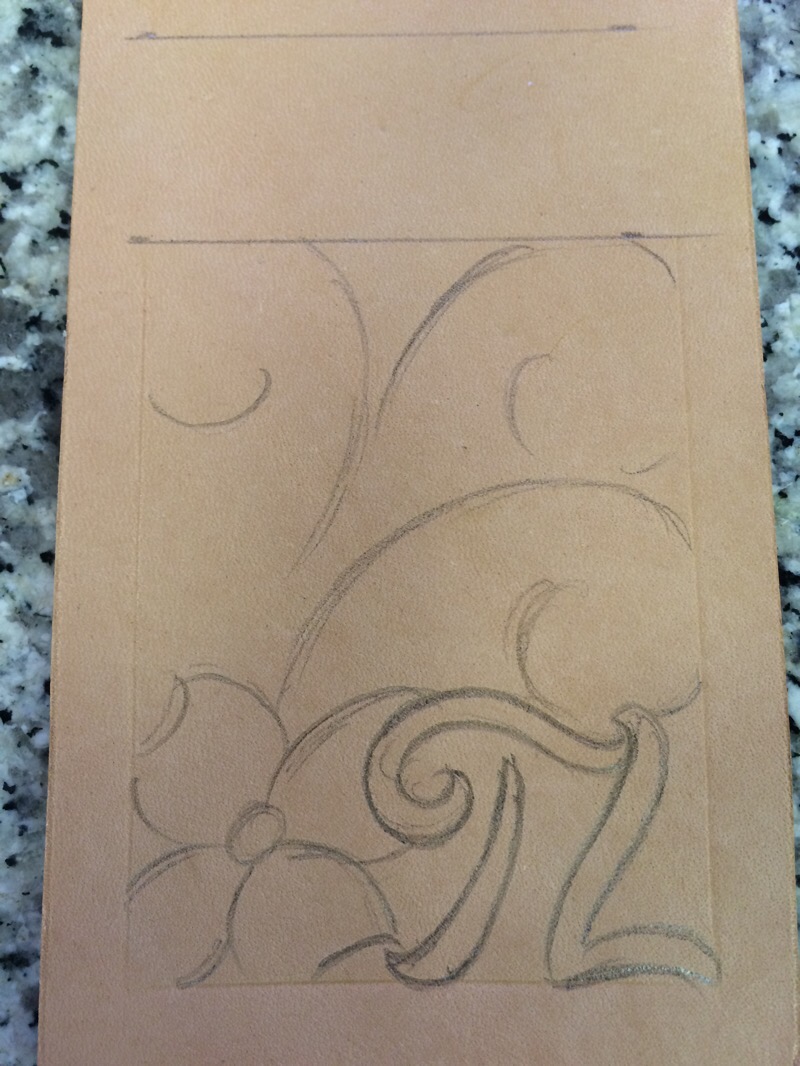
Here I have placed a flower next to the initials which will seperate the initials from the floral nicely. Next I draw in some scroll guidelines roughly to determine the flow I want within the pattern.
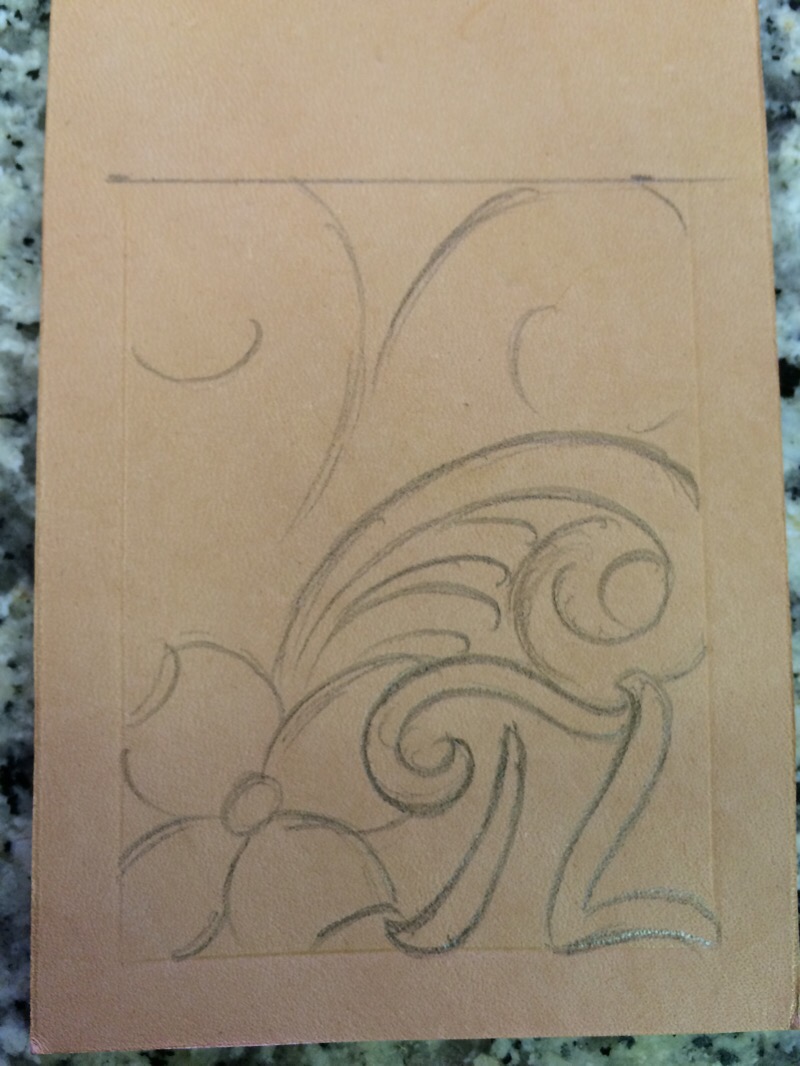
Now I begin to define my scrolls and vine work using my previous lines as a guide for flow.
I didn’t like how the flow was layed in at first so I just simply erase the two lines I don’t like. Using the 8B pencil allows me to erase and leaves no impression of the lines behind.
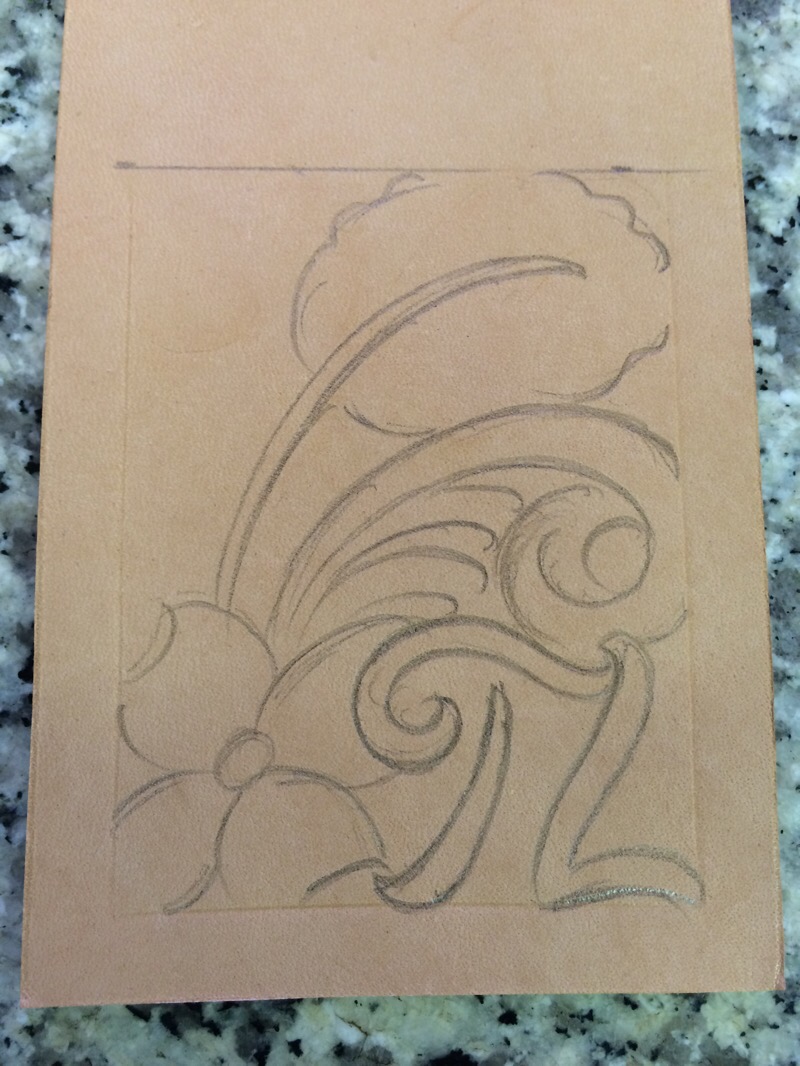
I decided to fill some space with a leaf. When you add leaves and flowers into the pattern, keep the flow in mind so that it bends and shapes accordingly.
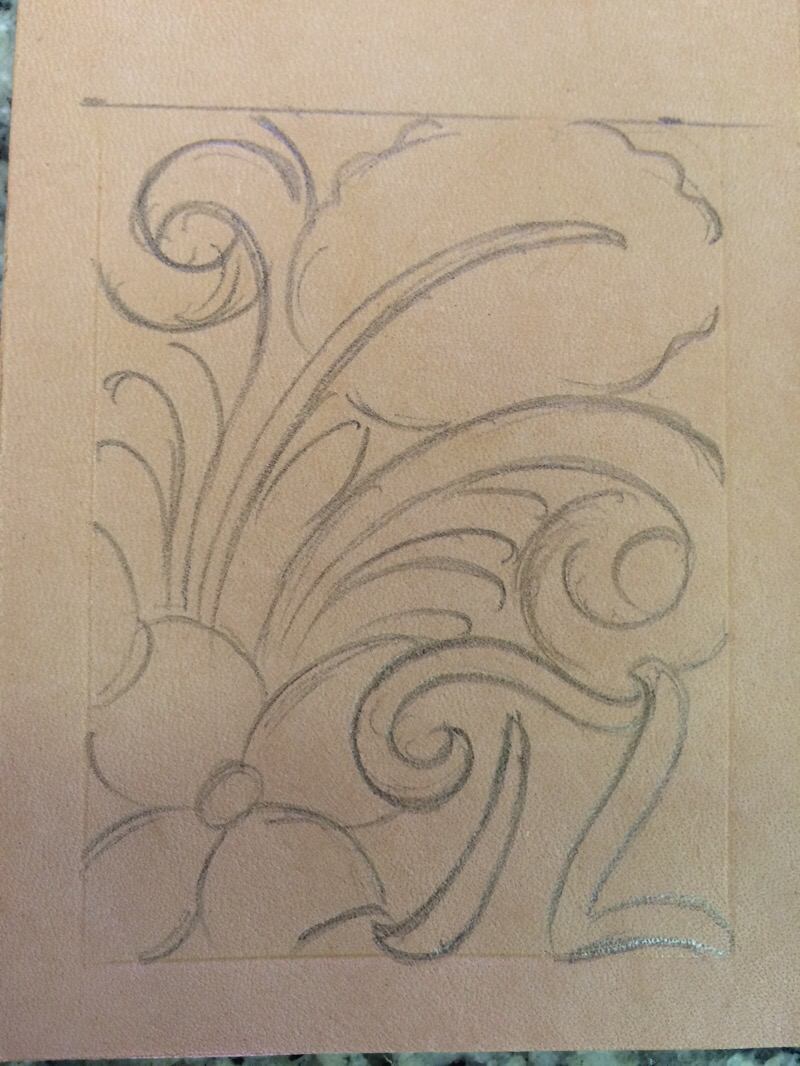
As you can see the leaf took a lot of the open space and the gaps can easily be filled now with scroll and vine work. For the most part, the original flow I sketched in is maintained. The only thing I really changed was using the leaf to balance the pattern a little.
Let us know what you think about this or any other post on our site by following us on facebook, Instagram or twitter. Thanks and keep drawing!